If you’ve ever found yourself torn between the gooey decadence of a brownie and the buttery chewiness of a cookie, then the Brookie Recipe is your ultimate dessert solution. Combining the best of both worlds, brookies layer the rich chocolate flavor of brownies with the classic sweetness of cookies. And, what’s more, this hybrid dessert is not only mouthwatering but also incredibly versatile for any occasion.
What makes this recipe even better is how easy it is to customize. You can add nuts for a crunchy bite, swirl in caramel for extra indulgence, or even create seasonal variations with peppermint or pumpkin spice. Besides, brookies are perfect for sharing at parties, serving as a family treat, or enjoying solo with a glass of milk.
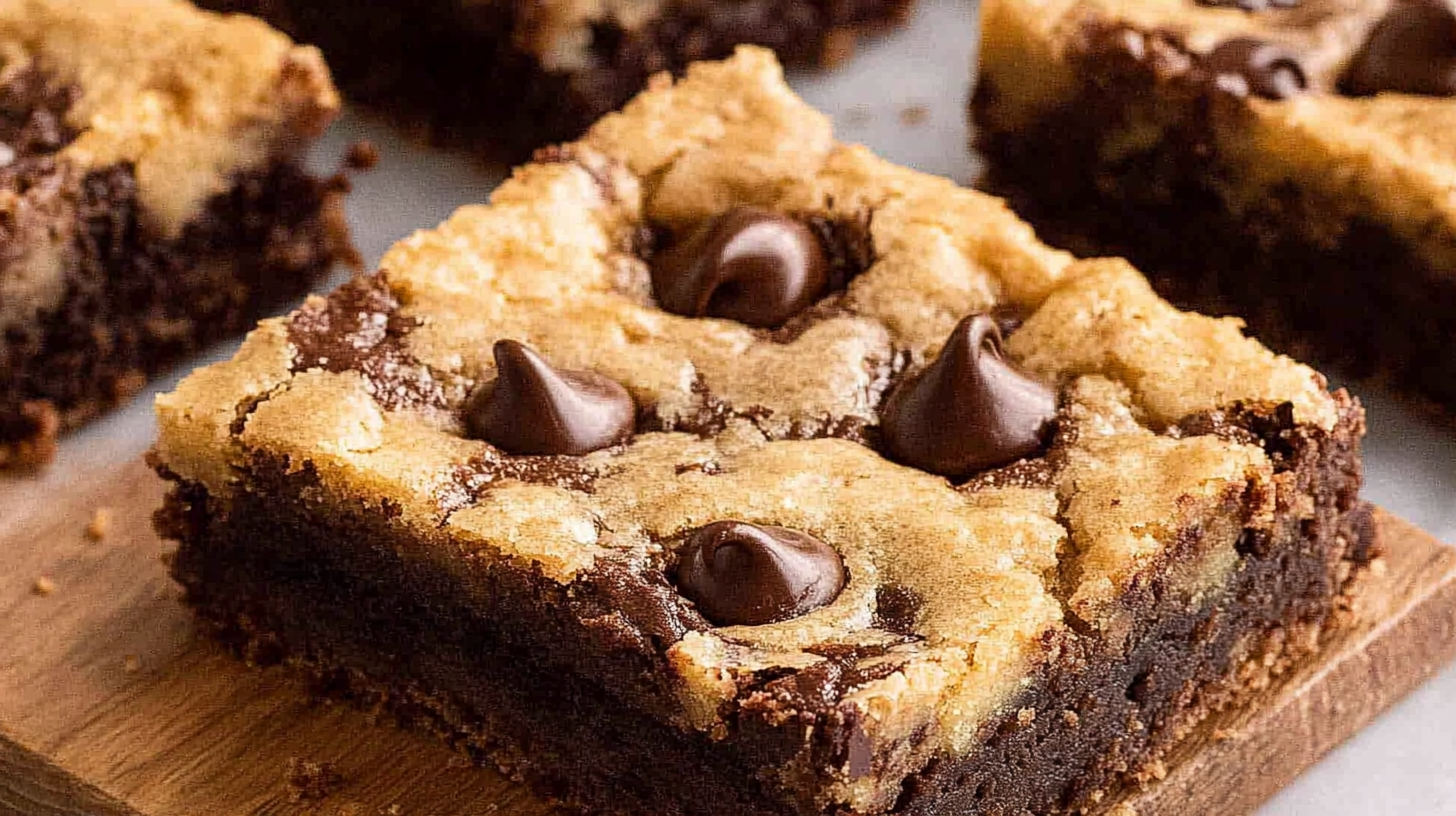
Moreover, the key to a perfect brookie recipe lies in the balance between its layers. The brownie layer should be dense and fudgy, while the cookie topping should retain its chewiness. And then, with the right ingredients and techniques, you can easily achieve this balance at home.

What Makes the Best Brookie Recipe So Special?
Brookies are more than just a dessert; they’re a delightful experience that brings together the best qualities of two beloved treats. And then, there’s the versatility they offer, making them suitable for nearly any occasion. Let’s explore why brookies have become a favorite for dessert lovers everywhere.
1. The Perfect Balance in a Brookie Recipe
The brookie recipe offers a contrast of textures that’s hard to resist:
- The fudgy brownie base provides a rich, dense foundation that melts in your mouth.
- The chewy cookie topping adds a slightly crispy exterior with a soft, buttery interior.
What’s more, the balance of these two textures creates a satisfying bite every time. Whether you prefer the gooeyness of brownies or the crunch of cookies, brookies deliver both.
2. Customizing Your Brookie Bars for Any Occasion
Besides being delicious as-is, brookies are highly customizable:
- Add Crunch: Incorporate chopped walnuts, pecans, or almonds for added texture.
- Go Gooey: Mix in mini marshmallows or swirl in caramel for an extra indulgent layer.
- Seasonal Flavors: Add peppermint extract for a winter twist, or pumpkin spice for fall-themed brookies.
This flexibility means you can tailor the brookie recipe to match your cravings or the season.
3. Easy Yet Impressive
Equally important to their taste is how easy brookies are to make.
- With one pan and a few basic ingredients, you can create a dessert that looks and tastes like it took hours to prepare.
- The layered effect of brownies and cookies is visually stunning, making brookies a great choice for parties, potlucks, and celebrations.
4. Why the Brookie Recipe Is a Crowd-Pleaser
Lastly, brookies are a dessert that appeals to people of all ages. Whether you’re baking for kids or adults, this hybrid treat is sure to satisfy.
Ingredients for the Perfect Brookie Recipe
To create the ultimate brookie, you’ll need to start with high-quality ingredients. Using fresh, pantry staples will make a noticeable difference in flavor and texture. And then, with these essentials, you’ll be ready to craft a dessert that’s as delicious as it is visually appealing.
Key Ingredients for Brownie and Cookie Layers
The brownie base is rich and fudgy, serving as the perfect foundation for the cookie topping. Here’s what you’ll need:
- ½ cup unsalted butter, melted: Adds richness and helps bind the ingredients.
- ¾ cup semisweet chocolate chips: Provides bursts of chocolate in every bite.
- ½ cup granulated sugar: Balances the chocolate’s intensity with sweetness.
- ½ cup light brown sugar: Adds a hint of caramelized flavor and moisture.
- ⅓ cup cocoa powder: The key to a deep, chocolaty flavor.
- 2 large eggs: Essential for structure and a glossy finish.
- 1 tsp vanilla extract: Enhances the overall flavor.
- ½ cup all-purpose flour: Creates the batter’s structure.
For the Cookie Layer
The cookie topping adds a chewy, buttery contrast to the brownie base. These ingredients create the perfect balance:
- ½ cup unsalted butter, room temperature: Creams easily for a light texture.
- ½ cup granulated sugar: Provides sweetness and structure.
- ¼ cup light brown sugar: Contributes moisture and depth of flavor.
- 1 large egg: Helps the dough hold together.
- 1 tsp vanilla extract: Adds warmth and richness.
- 1 ⅓ cups all-purpose flour: Forms the dough’s structure.
- ½ tsp baking powder: Gives a slight rise for a chewy texture.
- ¼ tsp baking soda: Balances acidity for better browning.
- 1 cup semisweet chocolate chips: Melts into pockets of gooey chocolate.
Essential Tools for Crafting the Best Brookie Recipe
Besides your ingredients, you’ll need the right tools to ensure success:
- Baking Dish: A 9×13-inch pan lined with parchment paper for easy removal.
- Mixing Bowls: At least two—one for the brownie batter and one for the cookie dough.
- Whisk and Spatula: For smooth mixing and scraping down the sides of the bowl.
- Optional Electric Mixer: Helps cream the butter and sugar for the cookie layer.
Step-by-Step Guide to Making the Brookie Recipe
1. Prepare the Brownie Layer
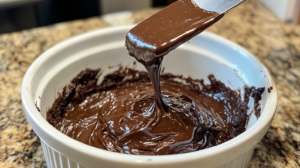
First, melt the butter in a large bowl. Then, whisk in the cocoa powder until smooth. Add both sugars and whisk until well combined. Next, stir in the eggs and vanilla extract, mixing until glossy. Finally, fold in the flour and chocolate chips to complete the batter.
Pro Tip: For glossy brownies, whisk the eggs and sugar thoroughly. This step creates a shiny top layer.
2. Make the Cookie Dough
Cream the butter, granulated sugar, and light brown sugar until light and fluffy. Add the egg and vanilla extract, mixing until fully incorporated. In another bowl, combine the flour, baking powder, and baking soda. Gradually mix the dry ingredients into the wet ingredients. Lastly, fold in the chocolate chips.
3. Layer the Brownies and Cookies
Spread the brownie batter evenly into the prepared baking dish. Then, drop dollops of cookie dough over the brownie layer, leaving some spaces for the brownie batter to peek through.
Pro Tip: Use a spatula to gently spread the cookie dough if you prefer fuller coverage.

Baking the Brookie Recipe
Baking is the critical step where the rich brownie base and chewy cookie topping come together to create the perfect brookie recipe. Following these steps will ensure your brookies bake evenly and achieve their signature layered texture.
1. Preheat the Oven
First, set your oven to 350°F (175°C). This temperature allows the brownie layer to bake through without overcooking the cookie topping.
- Make sure the oven rack is positioned in the center for even heat distribution.
2. Bake in Two Stages
To achieve the perfect texture for both layers, you’ll bake the brookies in two stages:
- First Bake (Covered):
- Cover the baking dish with aluminum foil to prevent the cookie dough from browning too quickly.
- Bake for 20 minutes.
- Second Bake (Uncovered):
- Remove the foil and continue baking for an additional 20 minutes, or until the cookie layer turns golden brown.
3. Check for Doneness
It’s essential to test whether your brookies are fully baked. Here’s how:
- Insert a toothpick into the center of the pan.
- If it comes out with a few moist crumbs (but no wet batter), the brookies are done.
- The cookie topping should be lightly golden and firm to the touch.
Pro Tip: Remember that the brookies will continue to set as they cool, so avoid overbaking.
4. Cooling the Brookies
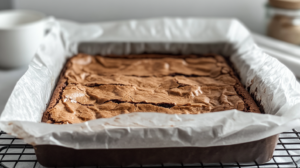
Once baked, remove the pan from the oven and place it on a wire rack to cool completely. Cooling ensures the layers set properly and makes slicing much easier.
- Allow at least 30–40 minutes of cooling time before attempting to cut the brookies.
Pro Tip: For faster cooling, place the pan in the fridge for 15–20 minutes after it has reached room temperature.

Cooling and Serving the Brookies
Cooling your brookies is as important as baking them. Proper cooling ensures the layers set perfectly, making it easier to slice and serve. And then, serving them with the right accompaniments elevates this already decadent dessert to the next level.
1. Cooling the Brookies
After removing the brookies from the oven, patience is key. Here’s how to do it right:
- Place the baking dish on a wire rack to cool completely. This helps prevent the residual heat from overcooking the layers.
- Allow the brookies to cool for 30–40 minutes at room temperature.
- If you’re short on time, transfer the dish to the fridge for 15–20 minutes to speed up the cooling process.
Why Cool Completely?
- Warm brookies are too soft to slice cleanly. Cooling lets the layers firm up, ensuring you get neat squares that showcase the contrast between the brownie and cookie layers.
2. Slicing the Brookies
Once cooled, use these tips to slice your brookies perfectly:
- Lift the brookies out of the baking dish using the edges of the parchment paper.
- Place them on a cutting board and use a sharp knife to cut them into squares or rectangles.
- Wipe the knife blade between cuts to prevent sticking and ensure clean edges.
3. Serving Suggestions
The brookie recipe shines on its own, but pairing it with the right accompaniments can make it even better:
- With Ice Cream: Warm a brookie square in the microwave for 10 seconds, then serve it with a scoop of vanilla or caramel ice cream.
- With Milk or Hot Chocolate: Brookies pair wonderfully with a cold glass of milk or a steaming cup of hot chocolate.
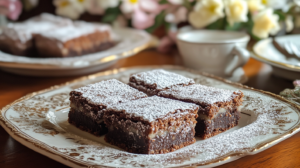
- For Special Occasions: Dust the top with powdered sugar or drizzle with chocolate sauce for an elegant presentation.
Tips for Presentation
- Arrange brookie squares on a decorative platter for parties or potlucks.
- Add a garnish of fresh berries or a dollop of whipped cream to make each serving look extra special.
Tips for Perfecting Your Brookie Recipe
Creating the perfect brookies isn’t just about following the recipe—it’s also about mastering the techniques and making small adjustments to suit your taste. Here are some tips to help you achieve brookie perfection every time.
1. Use Room Temperature Ingredients
Room temperature ingredients, especially butter and eggs, ensure smoother mixing and better integration of flavors.
- Butter: Softened butter creams more easily, resulting in lighter cookie dough.
- Eggs: Room temperature eggs blend better with other ingredients, giving the batters a cohesive texture.
2. Avoid Overmixing
When combining the flour into both the brownie and cookie layers, mix just until combined. Overmixing can lead to dense, tough brookies instead of the tender texture you’re aiming for.
- Tip: Use a spatula to fold the flour in gently rather than aggressively whisking it.
3. Don’t Skip the Parchment Paper
Lining your baking dish with parchment paper makes it easy to remove the brookies after cooling.
- Cut a piece of parchment large enough to cover the bottom and sides of the pan, leaving overhangs on two sides for easy lifting.
4. Choose High-Quality Ingredients
Since brookies are all about flavor, using premium ingredients makes a noticeable difference:
- Cocoa Powder: A good quality cocoa powder enhances the brownie layer’s richness.
- Chocolate Chips: Opt for semisweet or dark chocolate chips for a deeper chocolate flavor.
5. Test for Doneness Properly
Knowing when to pull your brookies out of the oven is critical.
- Insert a toothpick into the center; it should come out with moist crumbs but no wet batter.
- Remember, brookies will continue to firm up as they cool, so slightly underbaked is better than overbaked.
6. Customize to Your Liking
Brookies are incredibly versatile, so feel free to experiment with flavors and textures.
- Add nuts for crunch: Try chopped walnuts, pecans, or almonds.
- Swirl in caramel or peanut butter for an extra layer of indulgence.
- Sprinkle in sea salt flakes on top of the cookie dough before baking for a sweet and salty combination.
7. Reheat for Freshness
Brookies are best enjoyed warm. If serving later, reheat individual pieces in the microwave for 10–15 seconds to restore their gooey, freshly-baked texture.
8. Store Correctly
To keep your brookies fresh for longer:
Store them in an airtight container at room temperature for up to a week.
Freeze them in a sealed bag or container for up to 3 months. Thaw and reheat when ready to serve.
Creative Variations of the Brookie Recipe
Why not experiment with your brookies? Here are some ideas to get you started:
- Add Nuts: Toasted walnuts or pecans add crunch and flavor.
- Marshmallow Swirls: Drop mini marshmallows into the brownie batter for gooey bites.
- Seasonal Twists: Add peppermint extract for winter or pumpkin spice for fall.
FAQs About Brookie Recipe
1. How do you know when brookies are done baking?
The cookie layer should be golden brown, and a toothpick inserted into the center should come out with a few crumbs but no wet batter.
2. Can you make brookies ahead of time?
Yes! Store them in an airtight container at room temperature for up to a week or freeze them for longer storage.
3. How do you store brookies?
Keep them in an airtight container.
4. Can brookies be made gluten-free?
Absolutely! Substitute the all-purpose flour with a gluten-free flour blend.
Conclusion
The brookie recipe combines two beloved desserts into one irresistible treat. With its rich brownie base and chewy cookie topping, it’s perfect for any occasion. What’s more, it’s easy to customize with your favorite mix-ins or seasonal flavors. Try this recipe today and enjoy the best of both worlds!

