
If you’ve ever wanted to bake fresh bread but don’t have access to an oven, no-oven stovetop bread is the perfect solution. This ingenious method combines boiling and skillet cooking to create bread with a soft, fluffy interior and a golden, crispy crust. What’s more, it’s a convenient and energy-efficient option for those living in small spaces, during hot weather, or simply looking for a quicker way to enjoy homemade bread.
In addition, this technique is beginner-friendly, requiring only basic ingredients and tools that most people already have in their kitchens. From mixing the dough to achieving the perfect texture, anyone can master this method with a little practice. Moreover, the versatility of stovetop bread means you can customize it with herbs, spices, or sweet add-ins to suit your taste.
Next, we’ll explore how no-oven stovetop bread works, why it’s such a practical alternative, and the simple steps you need to get started.
What Is No-Oven Stovetop Bread?
No-oven stovetop bread is a clever method of breadmaking that eliminates the need for a traditional oven. Instead of baking in an oven, the dough is first boiled to lock in moisture and then cooked on a skillet to achieve a crisp, golden crust. This two-step process creates bread that is both soft and fluffy on the inside and satisfyingly crispy on the outside.
And it’s not just convenient; this method also works well in various situations where an oven isn’t available, such as during camping trips, in small kitchens, or when you simply want to avoid heating up your home. Besides, stovetop bread doesn’t require any specialized equipment, making it accessible to nearly everyone.
Furthermore, the technique is versatile and can be used to create many types of bread, from savory herb-filled options to sweet cinnamon variations. Next, let’s dive into how the process works and what you’ll need to get started.
Ingredients for Stovetop Bread
Making no-oven stovetop bread requires only a handful of basic ingredients that are likely already in your kitchen. Each ingredient serves a specific purpose, from giving the bread its rise to enhancing its flavor and texture. Let’s explore what you’ll need:
For the Dough:
- Flour (5 cups):
All-purpose flour is ideal, but you can also use whole wheat or gluten-free flour for dietary variations. - Warm Milk (2 cups):
This adds moisture and a slight richness to the dough. You can substitute it with plant-based milk or water for a dairy-free option. - Vegetable or Canola Oil (1 cup):
Adds tenderness to the bread and prevents it from sticking during cooking. - Dry Yeast (1 tablespoon):
Provides the rise and light texture. Make sure your yeast is fresh and properly activated. - Granulated Sugar (1 tablespoon):
Helps activate the yeast and adds a hint of sweetness. - Salt (1 teaspoon):
Enhances flavor and balances the sweetness.
For Boiling the Dough:
- Water (2.5–3 liters):
Boiling the dough helps lock in moisture and gives the bread a unique texture. - Salt (1 teaspoon):
Adds a touch of flavor to the boiled dough.
Why These Ingredients Work
- Flour:
Provides structure and determines the bread’s texture. Whole wheat flour adds a denser texture, while all-purpose flour yields a softer result. - Yeast and Sugar:
Yeast is the leavening agent that causes the dough to rise, and sugar activates the yeast by feeding it. - Oil and Milk:
Oil ensures the bread is tender and moist, while milk contributes richness to the flavor and texture. - Boiling:
This step mimics the steaming effect of an oven, creating a moist crumb and preparing the dough for skillet cooking.
How to Make No-Oven Stovetop Bread: Step-by-Step Instructions
Follow these simple steps to create fluffy and crispy no-oven stovetop bread right in your kitchen. This method is straightforward and beginner-friendly, requiring only basic tools and a little patience.
1. Prepare the Dough
- Activate the Yeast:
- In a large mixing bowl, combine the warm milk, sugar, and dry yeast.
- Stir well and let the mixture sit for 5–10 minutes until frothy. This ensures the yeast is active and ready to help the dough rise.
- Mix the Dough:
- Add the flour, oil, and salt to the activated yeast mixture.
- Stir until the ingredients form a rough dough. If the dough feels too sticky, add a little more flour; if it’s too dry, add a splash of milk.
- Knead the Dough:
- Transfer the dough to a lightly floured surface and knead for 8–10 minutes until it becomes smooth and elastic. Proper kneading helps develop the gluten, giving the bread its structure.
2. Let the Dough Rise
- Grease a Bowl:
- Lightly grease a clean bowl with oil and place the dough inside. Turn the dough once to coat it with oil, preventing it from drying out.
- Cover and Rest:
- Cover the bowl with a damp cloth or plastic wrap. Let the dough rise in a warm spot for about 1 hour, or until it doubles in size.
- Check the Dough:
- After the rise, the dough should feel soft, airy, and easy to shape.
3. Boil the Dough
- Prepare the Water:
- Bring 2.5–3 liters of water to a boil in a large pot. Add 1 teaspoon of salt to the water.
- Shape the Dough:
- Punch down the risen dough to remove air bubbles. Shape it into balls, rolls, or your desired bread shapes.
- Boil the Dough:
- Drop the shaped pieces into the boiling water, a few at a time. Let them boil for 1–2 minutes until they puff up and float to the surface. Use a slotted spoon to remove the boiled dough and transfer it to a plate.
4. Cook on the Stovetop
- Preheat the Skillet:
- Heat a non-stick skillet or griddle over medium heat. Lightly grease it with a small amount of oil to prevent sticking.
- Cook the Bread:
- Place the boiled dough pieces in the skillet. Cook each side for 2–3 minutes, pressing lightly with a spatula to ensure even browning.
- Check for Doneness:
- The bread is ready when both sides are golden brown and crisp. Adjust the heat as needed to avoid burning.
Pro Tips for Success
- Consistent Heat: Keep the heat medium-low to avoid burning the exterior while undercooking the inside.
- Uniform Size: Shape the dough into evenly sized pieces for consistent cooking.
- Skillet with a Lid: Cover the skillet while cooking to trap steam, which helps the bread cook through evenly.
Creative Variations of No-Oven Stovetop Bread
One of the best things about no-oven stovetop bread is its versatility. You can easily adapt the recipe to suit your taste or dietary preferences. Here are some creative variations to try:
1. Herb-Infused Bread
- Add finely chopped fresh herbs like rosemary, thyme, or parsley to the dough before kneading.
- Sprinkle dried herbs such as oregano or basil on the surface before cooking for extra flavor.
2. Cheesy Bread
- Mix shredded cheddar, mozzarella, or parmesan cheese into the dough for a gooey, cheesy interior.
- Alternatively, sprinkle grated cheese on top of the bread during cooking for a crispy, golden crust.
3. Sweet Cinnamon Bread
- Incorporate cinnamon and a touch of sugar into the dough for a sweet twist.
- Drizzle honey or syrup over the finished bread for a dessert-like treat.
4. Whole Wheat or Multigrain Bread
- Replace half or all of the all-purpose flour with whole wheat flour for a healthier option.
- Add seeds like sunflower, sesame, or flax for extra texture and nutrition.
5. Spiced Jalapeño Bread
- Add chopped jalapeños and a pinch of red pepper flakes to the dough for a spicy kick.
- Perfect for serving with chili or hearty soups.
6. Garlic Butter Bread
- Brush the cooked bread with a mixture of melted butter, minced garlic, and parsley for a flavorful topping.
- This variation pairs wonderfully with pasta dishes or as a side for soups.
Tips for Experimenting with Variations
- Balance Flavors: Don’t overdo add-ins like cheese or herbs, as they may overwhelm the bread’s texture.
- Adjust Liquid Ratios: If you’re adding wet ingredients (e.g., honey or syrup), reduce the amount of milk slightly.
- Layer Toppings: You can brush the bread with olive oil or butter and sprinkle toppings like sesame seeds or flaky sea salt before cooking for an extra burst of flavor.
Why Is No-Knead Bread So Popular?
No-knead bread has taken the baking world by storm, and for good reason. It’s an easy, low-effort method that produces bakery-quality results with minimal work. When adapted for stovetop bread, this technique becomes even more appealing, offering a simple solution for fresh, homemade bread without the need for kneading or an oven.
Why Does No-Knead Bread Work?
- Natural Gluten Development:
Instead of kneading, the gluten forms naturally as the dough rests. This resting period allows the dough to become elastic and stretchy without any physical effort. - Time Does the Work:
The longer resting period gives the yeast time to ferment, enhancing the flavor and texture of the bread. The result is a rich, complex taste that’s hard to beat. - Beginner-Friendly:
Without the need for kneading, this method is perfect for those new to breadmaking. It removes the guesswork, making the process stress-free.
How No-Knead Techniques Adapt to Stovetop Bread
- The dough can be mixed, left to rest, and shaped into rolls or balls before the boiling and skillet-cooking steps.
- While traditional no-knead bread often requires overnight resting, stovetop versions may only need a few hours of rising time, thanks to the boiling process that helps the bread cook evenly.
- The end result is a crusty, airy bread with less active effort—ideal for busy schedules.
Why Should You Try It?
No-knead stovetop bread is:
- Convenient: No special skills or tools required.
- Flavorful: The fermentation process enhances the taste.
- Versatile: Easily adapted for sweet or savory versions.
Alternative Ways to Bake Without an Oven
If you’re looking for other ways to bake bread without an oven, you’re in luck! Besides the stovetop method, there are several creative alternatives that allow you to enjoy freshly baked bread using common household tools or appliances.
1. Dutch Oven or Cast-Iron Pot
- A Dutch oven can act as a mini-oven by trapping heat and steam, creating an ideal environment for baking bread.
- Place the dough in a preheated Dutch oven, cover it with a lid, and cook it over low heat on a stovetop.
- This method yields a rustic loaf with a golden crust and a soft interior.
2. Pressure Cooker or Instant Pot
- Pressure cookers can double as a baking vessel. Use the “steam” or “bake” setting if available.
- Place the dough on a trivet or in a small pan inside the pressure cooker to avoid direct contact with the water.
- The steam creates a soft, fluffy bread texture.
3. Outdoor Grill or BBQ
- A grill or barbecue is an excellent option for baking bread, especially for flatbreads or rustic loaves.
- Place the dough directly on the grill grates or in a cast-iron skillet. Close the grill lid to trap heat, creating an oven-like effect.
- This method works well for pita bread, naan, or artisan-style loaves.
4. Steaming
- Steaming is a common method for making breads like bao buns or dumpling-style bread.
- Place the dough in a bamboo or metal steamer over boiling water.
- The result is soft, moist bread with a slightly chewy texture.
Tips for Baking Without an Oven
- Maintain Consistent Heat: Whether using a stovetop, grill, or pressure cooker, ensure the heat remains steady to avoid burning or undercooking.
- Use a Lid: Trapping steam is crucial for even cooking and achieving a soft, moist crumb.
- Adapt Recipes: Some traditional bread recipes may need slight adjustments for non-oven methods.
FAQs About No-Oven Stovetop Bread
Here are answers to some of the most frequently asked questions about making no-oven stovetop bread:
1. Can I bake bread on a stovetop?
Yes, baking bread on a stovetop is entirely possible. The method combines boiling and skillet-cooking to replicate oven baking. The result is bread with a fluffy interior and a crisp crust.
2. How can I bake on a stovetop without an oven?
You can boil the shaped dough briefly in salted water and then cook it on a non-stick skillet over medium heat. Covering the skillet with a lid helps trap steam, ensuring the bread cooks evenly.
3. Is there a way to make bread without an oven?
Absolutely! Besides stovetop bread, you can use alternatives like a Dutch oven, pressure cooker, or even a grill. Each method is effective and produces unique results.
4. Why is no-knead bread so good?
No-knead bread relies on a longer resting period to naturally develop gluten, eliminating the need for physical kneading. This creates a bread that is airy, flavorful, and easy to make.
5. How do I prevent my bread from sticking to the pan?
Use a non-stick skillet or lightly grease your pan with oil before cooking. Ensure the skillet is preheated, as this helps create a crisp crust and prevents sticking.
6. What’s the best way to store stovetop bread?
- Refrigeration: Store the bread in an airtight container for up to 4 days.
- Freezing: Wrap it in foil or plastic wrap and freeze for up to 3 months. Reheat in a skillet or microwave before serving.
7. Can I make gluten-free stovetop bread?
Yes, gluten-free bread is possible! Replace regular flour with a gluten-free baking blend. Be sure to adjust liquid ratios as gluten-free doughs are often more delicate.
Conclusion
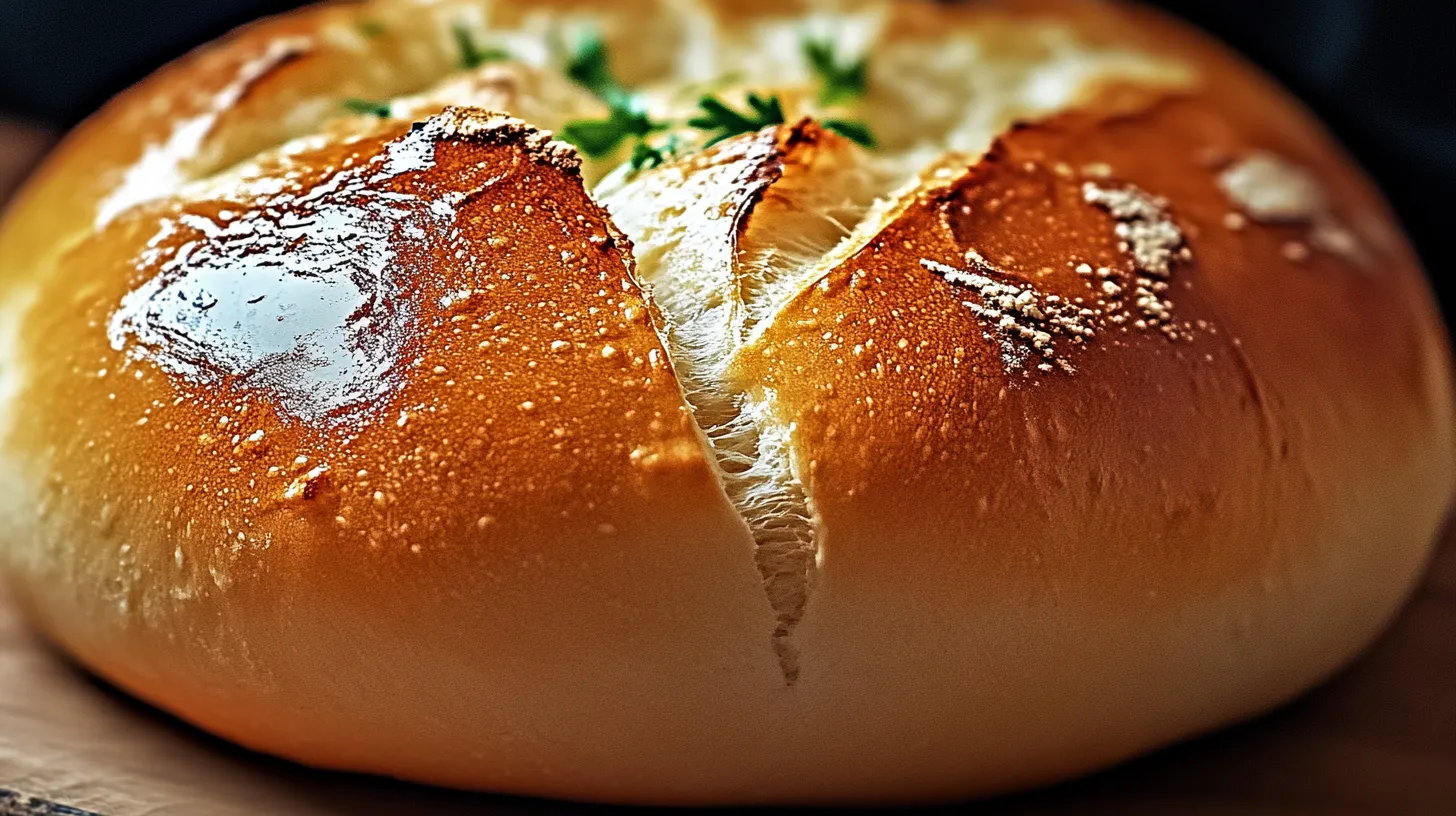
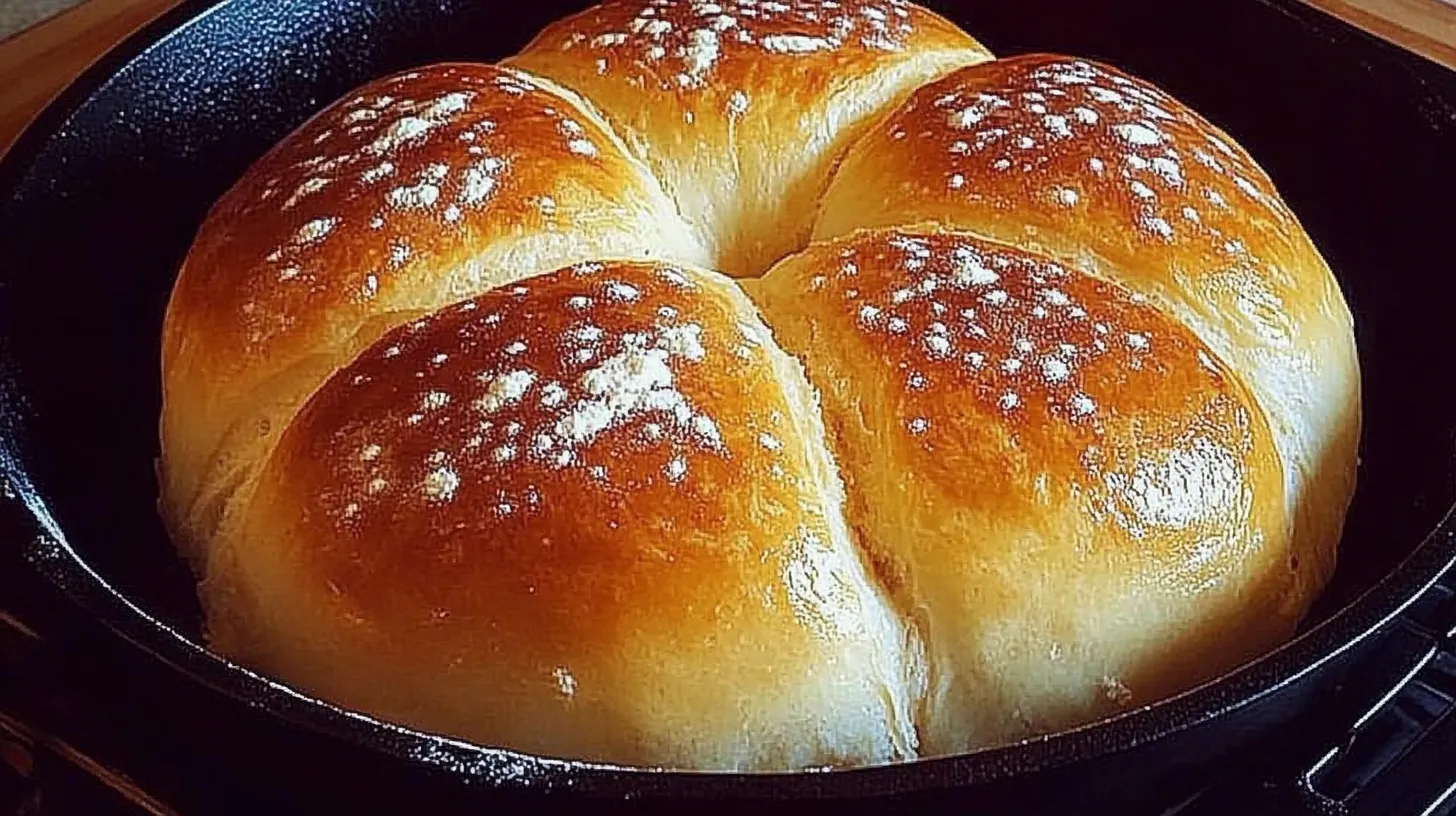
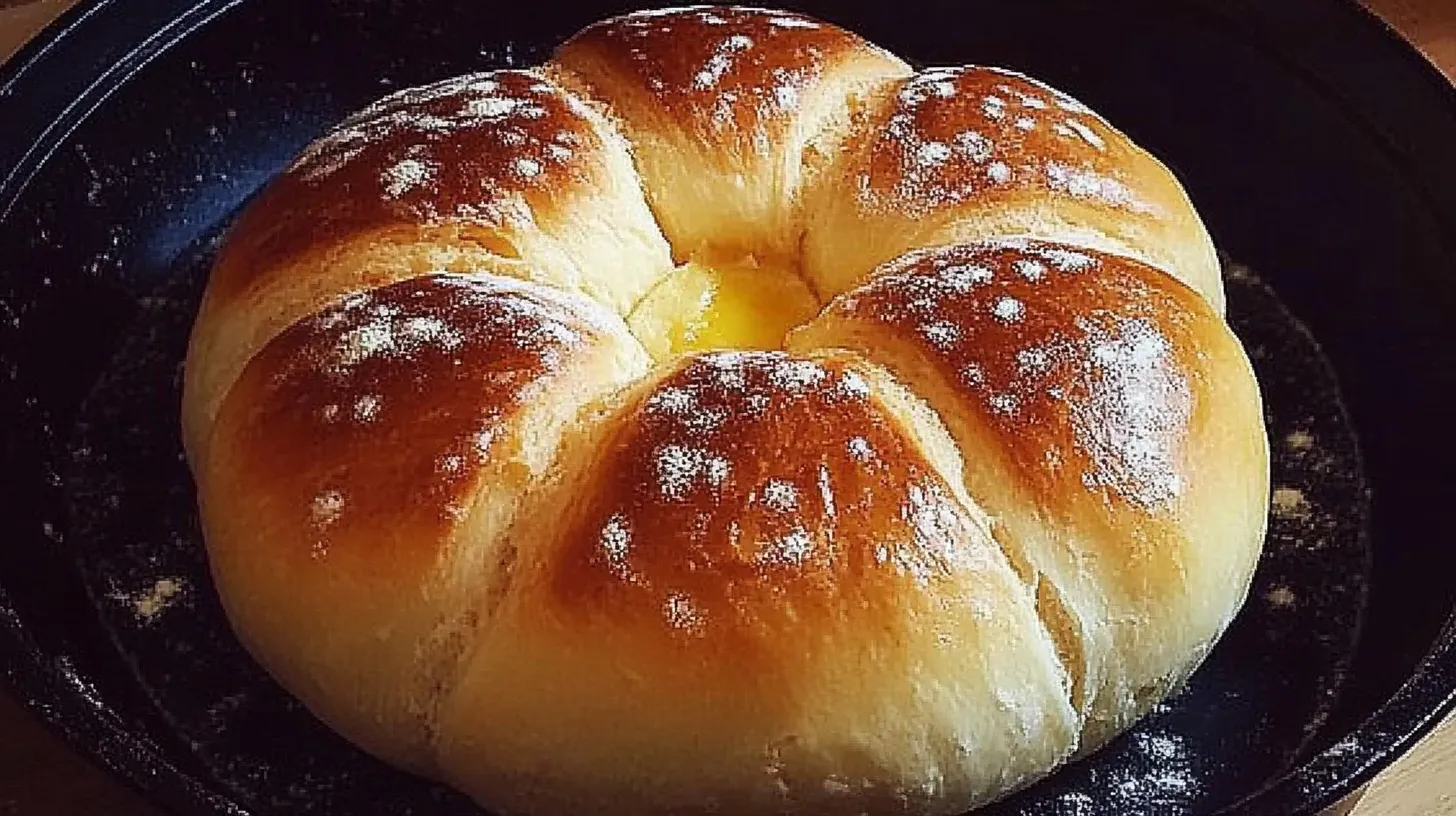
No-oven stovetop bread is a game-changing solution for anyone who wants to enjoy freshly baked bread without relying on an oven. By boiling and skillet-cooking the dough, this method delivers bread with a golden, crispy crust and a soft, fluffy interior—perfect for any occasion.
Furthermore, this technique is practical, beginner-friendly, and adaptable to a variety of flavors and dietary preferences. Whether you experiment with herb-infused dough, cheese-stuffed variations, or a sweet cinnamon twist, stovetop bread allows for endless creativity.
And let’s not forget its versatility: you can pair this bread with soups, stews, or spreads, use it as a sandwich base, or enjoy it on its own as a snack. Plus, the ease of storing and reheating makes it a convenient addition to any meal plan.
So why wait? Grab your ingredients, fire up your skillet, and try this no-oven stovetop bread recipe today. Once you taste the fresh, homemade flavor, you’ll wonder why you ever thought you needed an oven! 😊
Print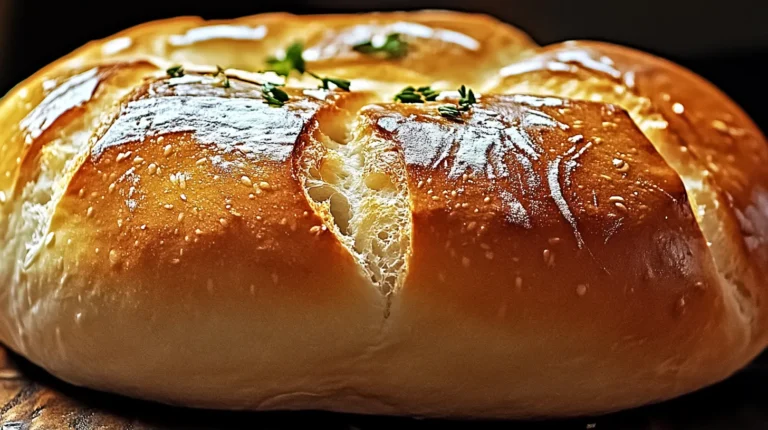
No-Oven Stovetop Bread – A Simple and Delicious Alternative
This no-oven stovetop bread is soft, fluffy on the inside, and crispy on the outside. It’s perfect for those without an oven or looking for a quicker bread-making method.
- Total Time: ~1 hour 45 minutes
Ingredients
For the Dough:
- 5 cups all-purpose flour
- 2 cups warm milk (or water for a dairy-free option)
- 1 cup vegetable or canola oil
- 1 tablespoon dry yeast
- 1 tablespoon granulated sugar
- 1 teaspoon salt
For Boiling the Dough:
- 2.5–3 liters of water
- 1 teaspoon salt
Instructions
1. Prepare the Dough:
o Activate yeast in warm milk with sugar; let it sit for 5–10 minutes until frothy.
o Mix in flour, oil, and salt to form a dough. Knead for 8–10 minutes until smooth and elastic.
2. Let the Dough Rise:
o Place the dough in a greased bowl, cover, and let it rise for 1 hour or until doubled in size.
3. Boil the Dough:
o Bring water with salt to a boil. Shape the risen dough into balls and boil for 1–2 minutes until they puff and float.
4. Cook on the Stovetop:
o Heat a non-stick skillet over medium heat. Cook the boiled dough pieces for 2–3 minutes per side until golden brown.
- Prep Time: 15 minutes
- Cook Time: 20–25 minutes
- Method: Stovetop cooking
- Cuisine: Global
Keywords: No-oven stovetop bread, skillet bread, bread without an oven, easy bread recipe