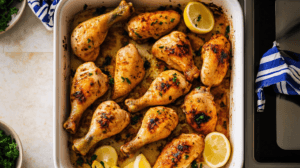
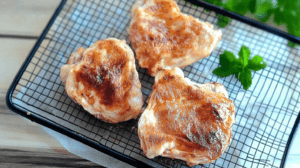
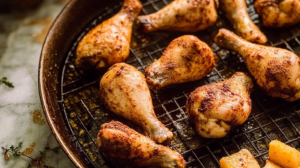
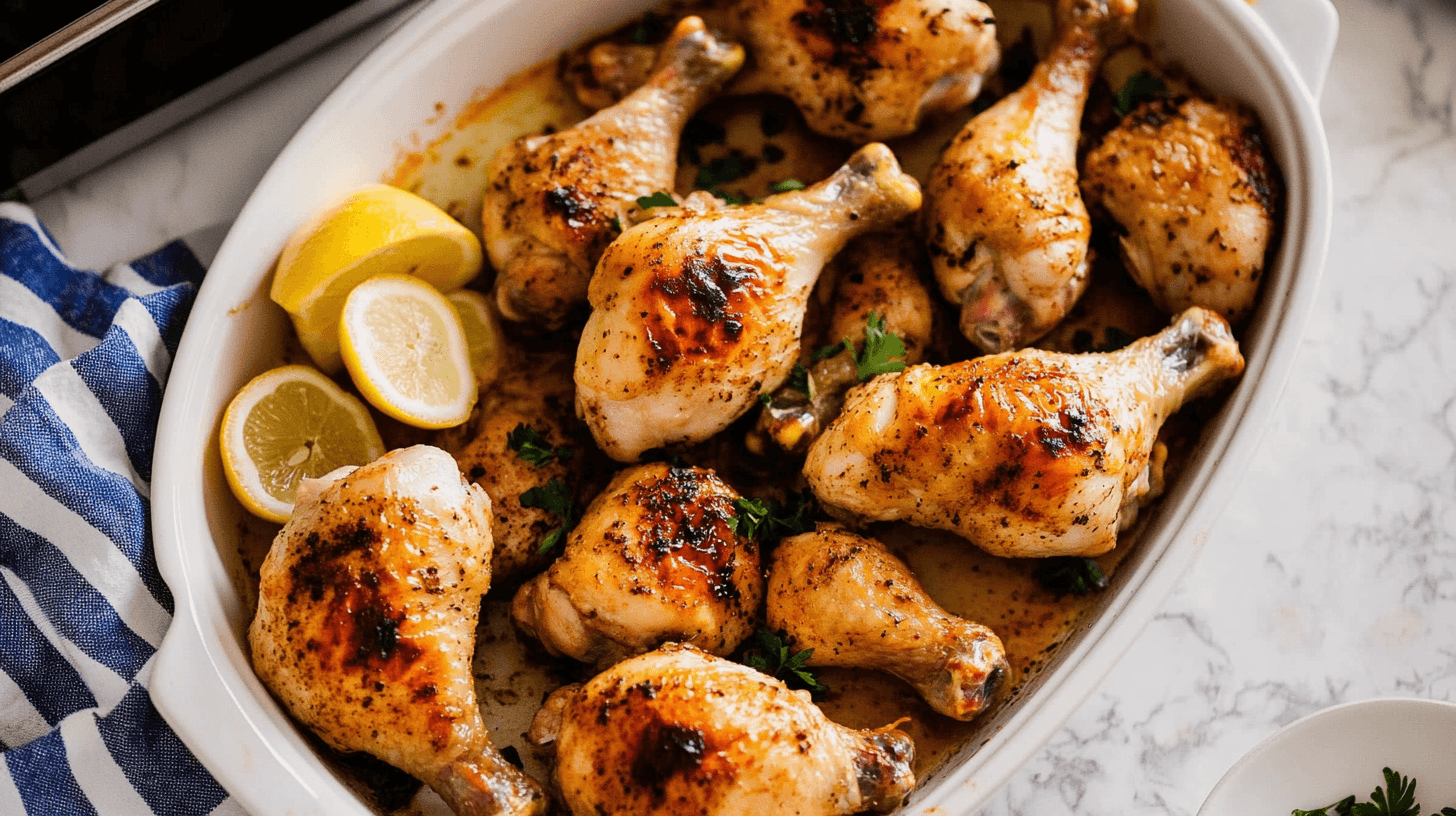
Cooking chicken at 400°F is one of the most reliable methods to prepare this protein to perfection. If you’re wondering how long to cook chicken on 400, the answer depends on the cut, size, and whether the meat is bone-in or boneless. This guide will break down the exact cooking times for chicken breasts, thighs, wings, and even whole chickens, so you never have to guess again.
Knowing how long to cook chicken on 400 is crucial for achieving the right balance of flavor, juiciness, and food safety. The high temperature ensures quick cooking and seals in natural juices, resulting in tender and flavorful chicken every time. Whether you’re making a simple dinner or prepping meals for the week, understanding this cooking method will elevate your dishes.

For chicken breasts, how long to cook chicken on 400 depends on whether they are boneless or bone-in. Boneless chicken breasts typically require 20–25 minutes, while bone-in pieces may take 35–40 minutes. Following these guidelines ensures juicy, evenly cooked meat.
Curious about how long to cook chicken on 400 for other cuts? Chicken thighs and wings also have specific times that yield optimal results. For bone-in thighs, 40–45 minutes is ideal, while boneless thighs are done in just 20–25 minutes. Chicken wings take around 30–35 minutes at this temperature, delivering crispy skin and tender meat.
By mastering how long to cook chicken on 400, you’ll enjoy perfectly baked chicken every time. With the right tools and tips, such as using a meat thermometer to check for an internal temperature of 165°F, you can confidently prepare chicken for any occasion.
Why 400°F Is Ideal for Cooking Chicken
Cooking chicken at 400°F is widely regarded as one of the best methods for achieving the perfect texture and flavor. This temperature not only ensures your chicken is cooked thoroughly but also enhances its natural taste and juiciness. Here’s a closer look at why 400°F is the go-to temperature for chicken:
1. Quick Cooking Time
Cooking chicken at 400°F reduces overall cooking time compared to lower temperatures. The high heat speeds up the process while still ensuring the meat cooks evenly. Whether you’re preparing a busy weeknight dinner or a weekend feast, this method saves time without compromising quality.
- Why it works: The higher temperature quickly cooks the exterior while sealing in moisture.
- Perfect for: Cuts like boneless chicken breasts or thighs that tend to dry out with extended cooking.
2. Crispy Skin for Bone-In Cuts
For cuts like chicken thighs, legs, or wings, 400°F is ideal for achieving that coveted crispy, golden-brown skin. The higher temperature renders the fat in the skin more effectively, creating a satisfying crunch with every bite.
- Why it works: The heat melts the fat while locking in the juices, making the skin crispy and the meat tender.
- Perfect for: Dishes where presentation and texture matter, like roasted chicken legs or party wings.
3. Flavor Retention
Cooking chicken at 400°F seals in natural juices and enhances the meat’s flavor profile. Unlike lower temperatures, which can result in bland or over-dried chicken, 400°F delivers perfectly moist and flavorful results every time.
- Why it works: The heat creates a slight crust on the exterior, which locks in juices and prevents the meat from drying out.
- Perfect for: Whole roasted chicken, which benefits from a balance of crispy skin and juicy meat.
Bonus: Versatility
This temperature works equally well for various cooking techniques—whether you’re baking, roasting, or using a convection oven. Plus, it pairs seamlessly with marinades, dry rubs, or simple salt-and-pepper seasoning, allowing you to customize the dish to your preferences.
Cooking chicken at 400°F is the perfect combination of speed, flavor, and texture, making it a reliable choice for both beginner and seasoned cooks. By mastering this method, you’ll enjoy consistently delicious results that will have everyone coming back for more.

How Long to Cook Chicken Breasts at 400°F
Chicken breasts are a lean and versatile cut of meat, but they require proper care to prevent them from drying out. Cooking them at 400°F strikes the right balance between speed and tenderness. Here’s everything you need to know to make perfectly cooked chicken breasts.
Cooking Times for Chicken Breasts at 400°F
- Boneless Breasts:
- Cook for 20–25 minutes. The cooking time may vary depending on the size and thickness of the breasts. Thinner cuts will need less time, while thicker cuts might require the full 25 minutes.
- Bone-In Breasts:
- Cook for 35–40 minutes. Bone-in chicken breasts take longer because the bone absorbs and distributes heat, which slows down the cooking process. However, the bone also helps retain moisture and enhances the flavor.
Tips for Keeping Chicken Breasts Juicy
Cooking chicken breasts can be tricky because of their low-fat content, but these tips will help you achieve juicy, tender results every time:
- Marinate or Brine the Chicken
- Soak the breasts in a marinade or a saltwater brine for at least 30 minutes before cooking. This helps infuse moisture and flavor into the meat.
- Popular marinades include lemon-garlic, teriyaki, or herb-based options. For brines, mix water, salt, and a bit of sugar for optimal results.
- Cover with Foil for the First Half of Cooking
- Covering the chicken loosely with aluminum foil during the first half of cooking helps retain moisture and prevents the meat from drying out. Remove the foil for the last 10 minutes to allow the top to brown beautifully.
- Pound the Breasts to an Even Thickness
- Use a meat mallet to even out the thickness of the chicken breasts. This ensures they cook evenly and reduces the risk of thinner parts overcooking.
- Rest the Chicken After Cooking
- Let the chicken rest for 5–10 minutes after removing it from the oven. This allows the juices to redistribute throughout the meat, keeping it tender and flavorful.
How to Check for Doneness
The key to perfectly cooked chicken is reaching an internal temperature of 165°F. Use a meat thermometer and insert it into the thickest part of the breast for an accurate reading. If you don’t have a thermometer, slice into the chicken; the juices should run clear, and there should be no pink in the center.
How Long to Cook Chicken Thighs at 400°F

Chicken thighs, known for their rich flavor and juicy texture, are more forgiving than breasts. Whether boneless or bone-in, cooking them at 400°F yields a delectable dish.
Cooking Times:
- Boneless Thighs: Bake for 20–25 minutes.
- Bone-In Thighs: Bake for 40–45 minutes.
Tips for Crispy Skin:
- Pat the thighs dry before seasoning.
- Bake them skin-side up and avoid flipping during cooking.
How Long to Cook Chicken Wings at 400°F
If you love crispy chicken wings, cooking them at 400°F is the way to go. This high heat ensures a crunchy exterior without drying out the meat inside.
Cooking Time:
- Bake for 30–35 minutes, flipping halfway through for even crisping.
Pro Tip:
- Toss the wings in a thin layer of oil and season generously before baking for restaurant-quality results.
How Long to Cook a Whole Chicken at 400°F
Roasting a whole chicken at 400°F creates a beautiful, golden-brown bird that’s juicy and flavorful. Cooking time will depend on the weight of the chicken.
Cooking Time:
- Roast for 15 minutes per pound, or approximately 1 hour and 15 minutes for a 5-pound chicken.
- Always check that the internal temperature in the thickest part of the meat reaches 165°F.
Tricks for Even Cooking:
- Spatchcock the chicken for faster, more even cooking.
- Baste the chicken with its own juices or a marinade every 20 minutes for added flavor.
Tools for Perfectly Cooked Chicken
Cooking chicken at 400°F is a straightforward method, but using the right tools can elevate your results from good to exceptional. These essential kitchen items ensure your chicken is perfectly cooked, juicy, and flavorful every time.
1. Meat Thermometer
A meat thermometer is an absolute must for cooking chicken to perfection. This tool helps you monitor the internal temperature of the chicken, ensuring it reaches the safe minimum of 165°F without overcooking.
- Why It’s Important: Overcooked chicken can become dry and tough, while undercooked chicken poses health risks. A meat thermometer removes the guesswork.
- How to Use It: Insert the probe into the thickest part of the chicken without touching the bone. For even cooking, check multiple pieces if you’re preparing several cuts.
- Pro Tip: Opt for an instant-read digital thermometer for fast and accurate results.
2. Baking Racks
A baking rack is a game-changer for evenly cooking chicken, especially when roasting or baking cuts like thighs or wings.
- Why It’s Important: Elevating the chicken allows air to circulate underneath, ensuring even cooking and crisping the skin. This also prevents the bottom of the chicken from becoming soggy in its juices.
- How to Use It: Place the rack inside a baking sheet or roasting pan. Arrange the chicken pieces evenly on the rack for optimal air circulation.
- Pro Tip: If you don’t have a baking rack, a crumpled layer of foil placed in the pan can serve as a temporary substitute.
3. Foil or Parchment Paper
Both foil and parchment paper are essential for making the cooking and cleanup process seamless.
- Why It’s Important:
- Foil: Traps moisture during baking, keeping the chicken tender and juicy. It also makes cleanup easier by containing any drippings.
- Parchment Paper: Prevents sticking, especially for cuts like skinless chicken breasts. It also promotes even cooking without the need for greasing.
- How to Use Them:
- Cover the chicken loosely with foil for the first part of baking to retain moisture. Remove it during the last 10–15 minutes for browning.
- Line your baking sheet with parchment paper to avoid sticking and minimize mess.
Pro Tip: If using foil, choose heavy-duty aluminum foil for better durability during high-temperature cooking.
Bonus Tools to Consider
- Kitchen Tongs: Perfect for flipping chicken pieces without piercing the meat and losing juices.
- Basting Brush: Helps apply marinades or sauces evenly during the cooking process.
- Oven Thermometer: Ensures your oven maintains the correct temperature, especially if it has hot spots or uneven heating.
Tips for Juicy and Flavorful Chicken at 400°F
To make your chicken truly irresistible, follow these expert tips:
- Preheat Your Oven: Ensures even cooking from the start.
- Season Generously: Salt, pepper, and your favorite spices make a world of difference.
- Rest Before Serving: Let chicken rest for 5–10 minutes after cooking to lock in juices.
FAQs About Cooking Chicken at 400°F
When cooking chicken at 400°F, several common questions arise. Below, we provide detailed answers to ensure your chicken turns out perfectly cooked, juicy, and flavorful every time.
1. How Do I Know My Chicken Is Fully Cooked?
Ensuring your chicken is fully cooked is essential for both flavor and safety.
- Check the Internal Temperature:
Use a meat thermometer to verify that the chicken has reached an internal temperature of 165°F. Insert the thermometer into the thickest part of the chicken, avoiding the bone, as this can give a false reading. - Visual Cues:
The juices should run clear, not pink, when the chicken is pierced with a knife or fork. Additionally, the meat should no longer appear raw or translucent in the center.
Pro Tip: For whole chickens, check the temperature in both the breast and the thickest part of the thigh for accuracy.
2. Should I Cover Chicken with Foil While Baking?
Covering chicken with foil during the initial stage of baking can make a big difference in retaining moisture.
- Why Use Foil?
Foil traps steam, helping to keep the chicken tender and juicy, especially for lean cuts like chicken breasts. It’s particularly helpful if you’re baking skinless pieces or using minimal sauce. - When to Remove the Foil:
During the last 10–15 minutes of cooking, remove the foil to allow the chicken to brown and develop a crispy exterior. This step is crucial for cuts with skin, like thighs or whole chickens.
Pro Tip: For extra flavor, brush the chicken with melted butter or oil after removing the foil to enhance browning.
3. Can I Cook Frozen Chicken at 400°F?
Yes, you can cook frozen chicken at 400°F, but there are a few things to keep in mind:
- Extended Cooking Time:
Frozen chicken takes approximately 50% longer to cook than thawed chicken. For example, if a thawed boneless breast takes 25 minutes, a frozen one will take closer to 40 minutes. - Ensure Even Cooking:
To help frozen chicken cook evenly, avoid stacking pieces. Instead, lay them out in a single layer on the baking sheet. - Check for Doneness:
Use a meat thermometer to confirm the internal temperature has reached 165°F.
Pro Tip: For better results, thaw chicken in the refrigerator overnight. Cooking frozen chicken directly can sometimes lead to uneven results, with the outside overcooking before the inside is done.
4. How Do I Reheat Cooked Chicken Without Drying It Out?
Reheating chicken properly is key to maintaining its moisture and flavor.
- Oven Method:
Reheat chicken in the oven at 300°F. Add a small amount of broth, water, or sauce to the pan to create steam and keep the meat moist. Cover the chicken loosely with foil to prevent drying. - Microwave Method:
Place chicken on a microwave-safe plate, cover it with a damp paper towel, and heat in 30-second intervals to avoid overcooking. - Stovetop Method:
Heat chicken in a skillet over low heat with a splash of broth or water. Cover the skillet with a lid to retain moisture.
Pro Tip: Avoid reheating chicken more than once, as repeated reheating can dry out the meat and diminish its flavor.
Conclusion: Mastering Chicken at 400°F
Cooking chicken at 400°F is a straightforward way to achieve flavorful, tender, and perfectly cooked results. By following these guidelines, experimenting with seasonings, and avoiding common mistakes, you’ll turn this simple method into a go-to recipe for every occasion.
Give it a try, and enjoy the delicious possibilities that come with mastering chicken at 400°F!

